The Supply edit Setup guide / The home setup
Pour over coffee supplies
One brewer, the right papers, and a repeatable routine. Build a pour-over setup around the cup you actually make.
Practical advice based on manufacturer instructions. Equipment photographs illustrate the setup; this is not a hands-on product test. About this guide
Start with the essentials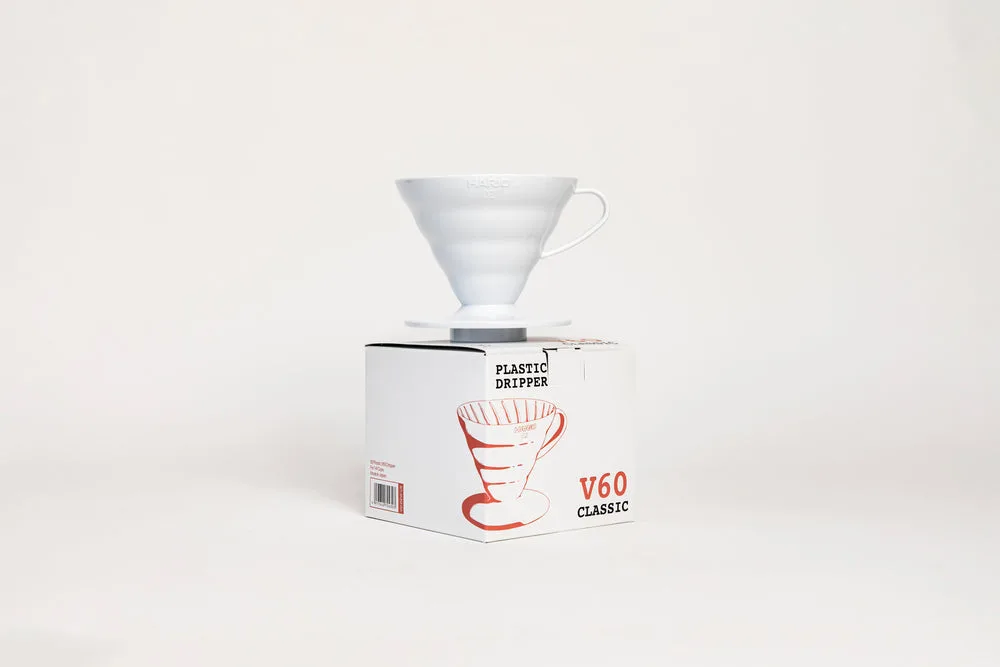
Hario V60 02 · one way to beginProduct photograph · Hario
To make pour-over coffee, you need a dripper, matching filters, ground coffee, hot water, and a cup or server. A scale makes the recipe repeatable; a burr grinder and a kettle with a controlled pour give you more room to adjust. Start with one brewer and learn it before buying a collection.
Your first pour-over shopping list
Check your kitchen before ordering. A phone can handle timing, and a mug can replace a separate server if the dripper sits securely on it. Put the first purchases toward the parts you cannot substitute.
- A dripper sized for the amount you normally brew, plus a stable mug or heat-safe server with enough capacity.
- Paper filters made for that dripper's shape and size; include a spare pack in the first order.
- Coffee ground for your brewer, or whole beans and a burr grinder that supports filter brewing.
- A scale that can hold the brewer, vessel, and water together and still leave its display visible.
- A kettle you can pour from slowly, drinking water you enjoy, and a timer.
Check filter compatibility before choosing a brewer
A filter labeled for two cups is not automatically compatible with every two-cup dripper. Match the maker's stated model, size, and shape. If you want to buy replacements locally, check what your nearby shops actually stock. Also check the brewer's recommended batch size: a large vessel does not make a small coffee bed behave like a larger one. Choose for your usual morning cup, then consider a second brewer if you regularly serve a group.
Spend on a repeatable routine before extra accessories
If you already have a usable kitchen scale and kettle, try them first. Look for a scale that reads in grams, responds promptly as you pour, and has enough capacity for the full setup. A gooseneck kettle is a useful upgrade when controlling the stream is difficult. An adjustable burr grinder lets you change grind size between brews; if that purchase has to wait, ask a roaster to grind a small bag for your specific dripper. A refractometer, separate brew stand, and several filter types can wait until you have a question they will help answer.
Start with one measured recipe
For a one-cup V60, Hario USA publishes a recipe using 15 g of coffee and 250 g of water, roughly 1:16.7. That is the water you pour, not the weight of the finished drink: some stays in the grounds. Use the linked recipe's pouring steps, or your own brewer's instructions if you have a different dripper. Record the coffee dose, water weight, grind setting, and total brew time so you can repeat a cup you like.
Change one thing before buying something new
Taste the coffee as it cools and write down what you want to change. Keep the dose and water weight fixed while trying a small grind adjustment. If your brews vary widely, first check that you are using the same filter, weighing accurately, and pouring in a similar way. If the coffee is pleasant but stronger than you want, try a little hot water in the cup. These small comparisons help you identify whether an equipment upgrade would solve a real problem.
Plan for the next bag and filter pack
At 15 g per brew, a 250 g bag makes 16 full doses with a little left over. A 100-pack of filters lasts about 100 brews, so beans and papers will run out on different schedules. Keep the filter model on your shopping list, rinse and clean your brewer after use according to its care instructions, and let reusable parts dry before putting them away.
Common questions
Can I start with pre-ground coffee?
Yes. Ask for a grind suited to your brewer and buy a quantity you will use regularly. The tradeoff is that you cannot adjust the grind at home; you can still measure the coffee and water and practice a consistent pour.
Do I need a gooseneck kettle?
No. Start with your existing kettle if you can pour a small, steady stream without spilling. A gooseneck is worth considering when your kettle makes controlled pouring awkward, rather than as a requirement for your first cup.
Do I need an extraction meter?
No. A scale and a repeatable recipe are enough to begin. Our extraction calculator is for people who already have a coffee refractometer: it needs a measured TDS reading and cannot infer extraction from brew time or taste.
Related coffee tools
Extraction Yield & TDS Calculator
Use dose, yield, and TDS readings to plot a pour over on the brewing control chart.
About this guide
This is a home setup checklist, based on the manufacturer instructions linked beside the relevant advice. It is not a ranking of tested products. Use the instructions for your exact brewer or machine when choosing compatible parts, recipes, water treatment, and cleaning products.
Product photographs show examples of the equipment discussed. The pictured model is not a required purchase. Links are direct, non-affiliate links.
Find your next coffee
Compare tasting notes, origins, and processing details, then choose a bag size and grind for your setup.
Browse specialty coffees · Search by flavor, roast, and budget
Explore another brewing setup
View all guides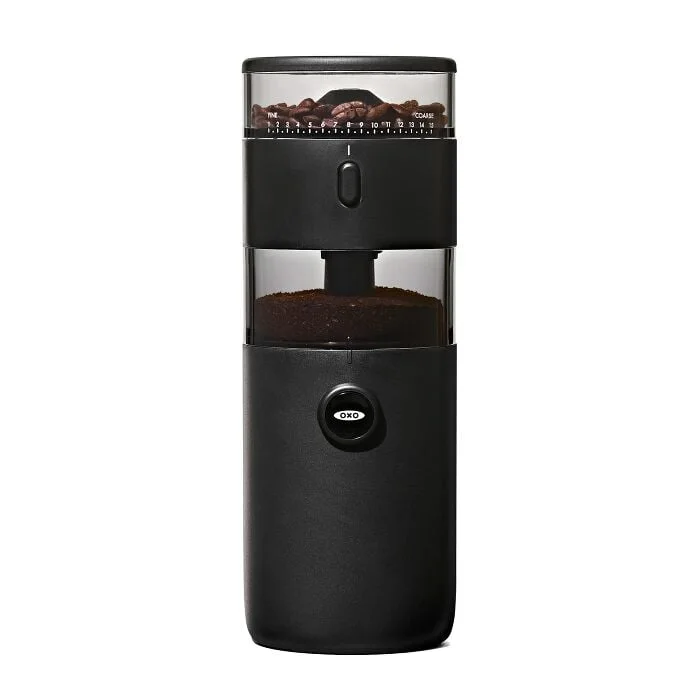
Setup guide
Cold brew coffee supplies
A little planning, a slower brew. Choose a vessel, get the filtration right, and make a batch that fits your week.
Read the guide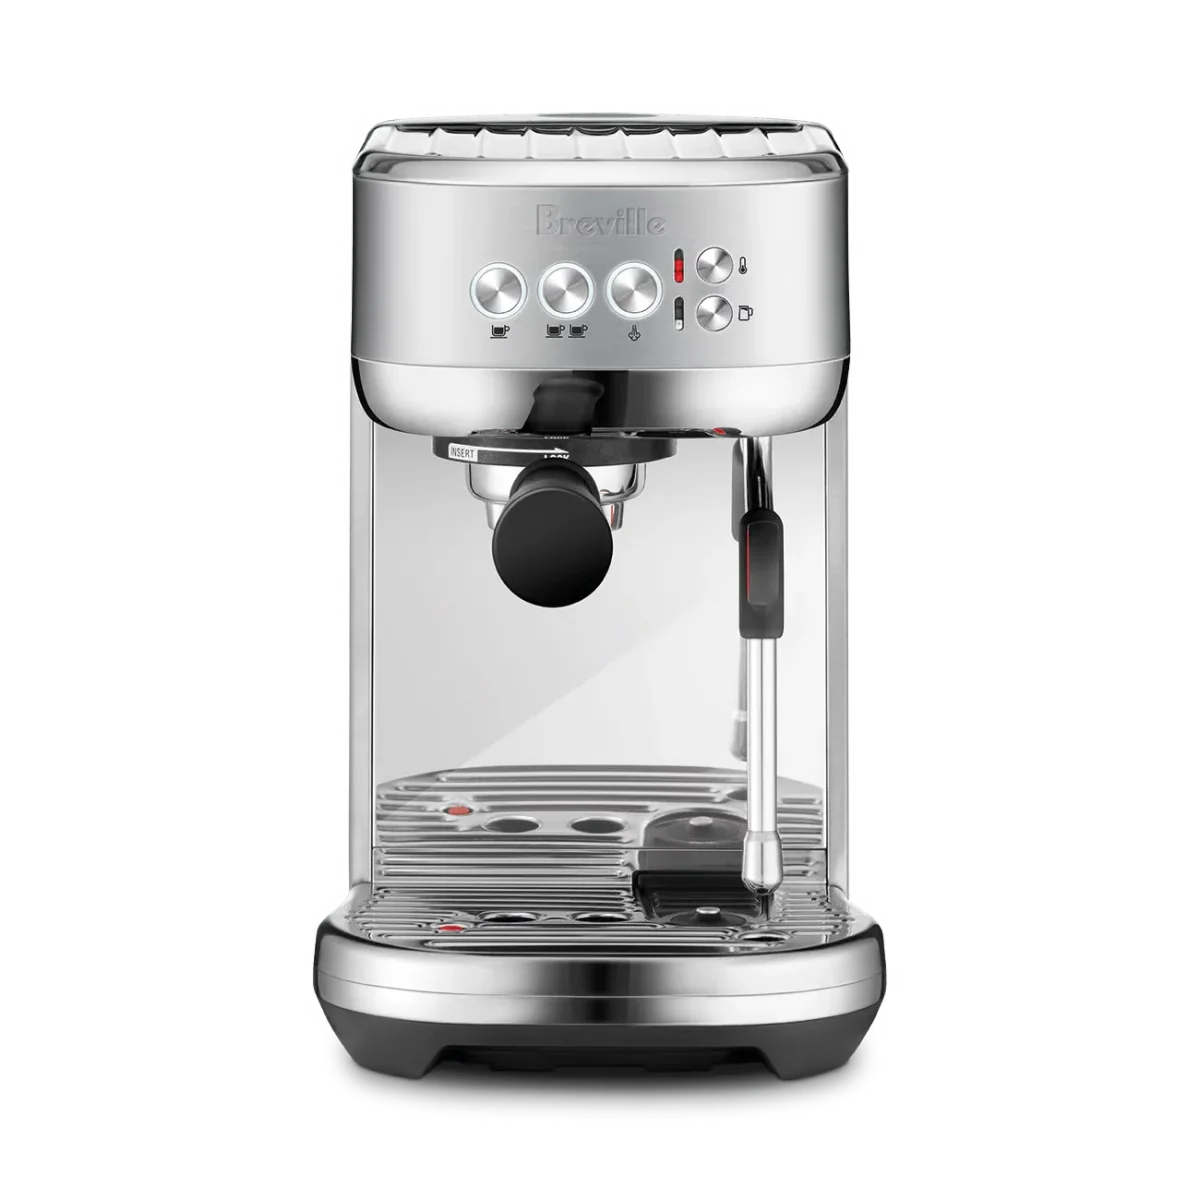
Setup guide
Espresso bar supplies
Give every tool a job. A practical home espresso station starts with compatible equipment, a scale, and a little care.
Read the guide